
Learn React.js by Building a Game Search App | Part 1/3 - Project Setup


React is the most popular JavaScript “library” for building Web user interfaces. In this tutorial, I’ll teach the basics of React by building an app for searching games you might be interested in buying. I called it the Game Database. While this project is simple, it will teach you a lot about React and modern web development.
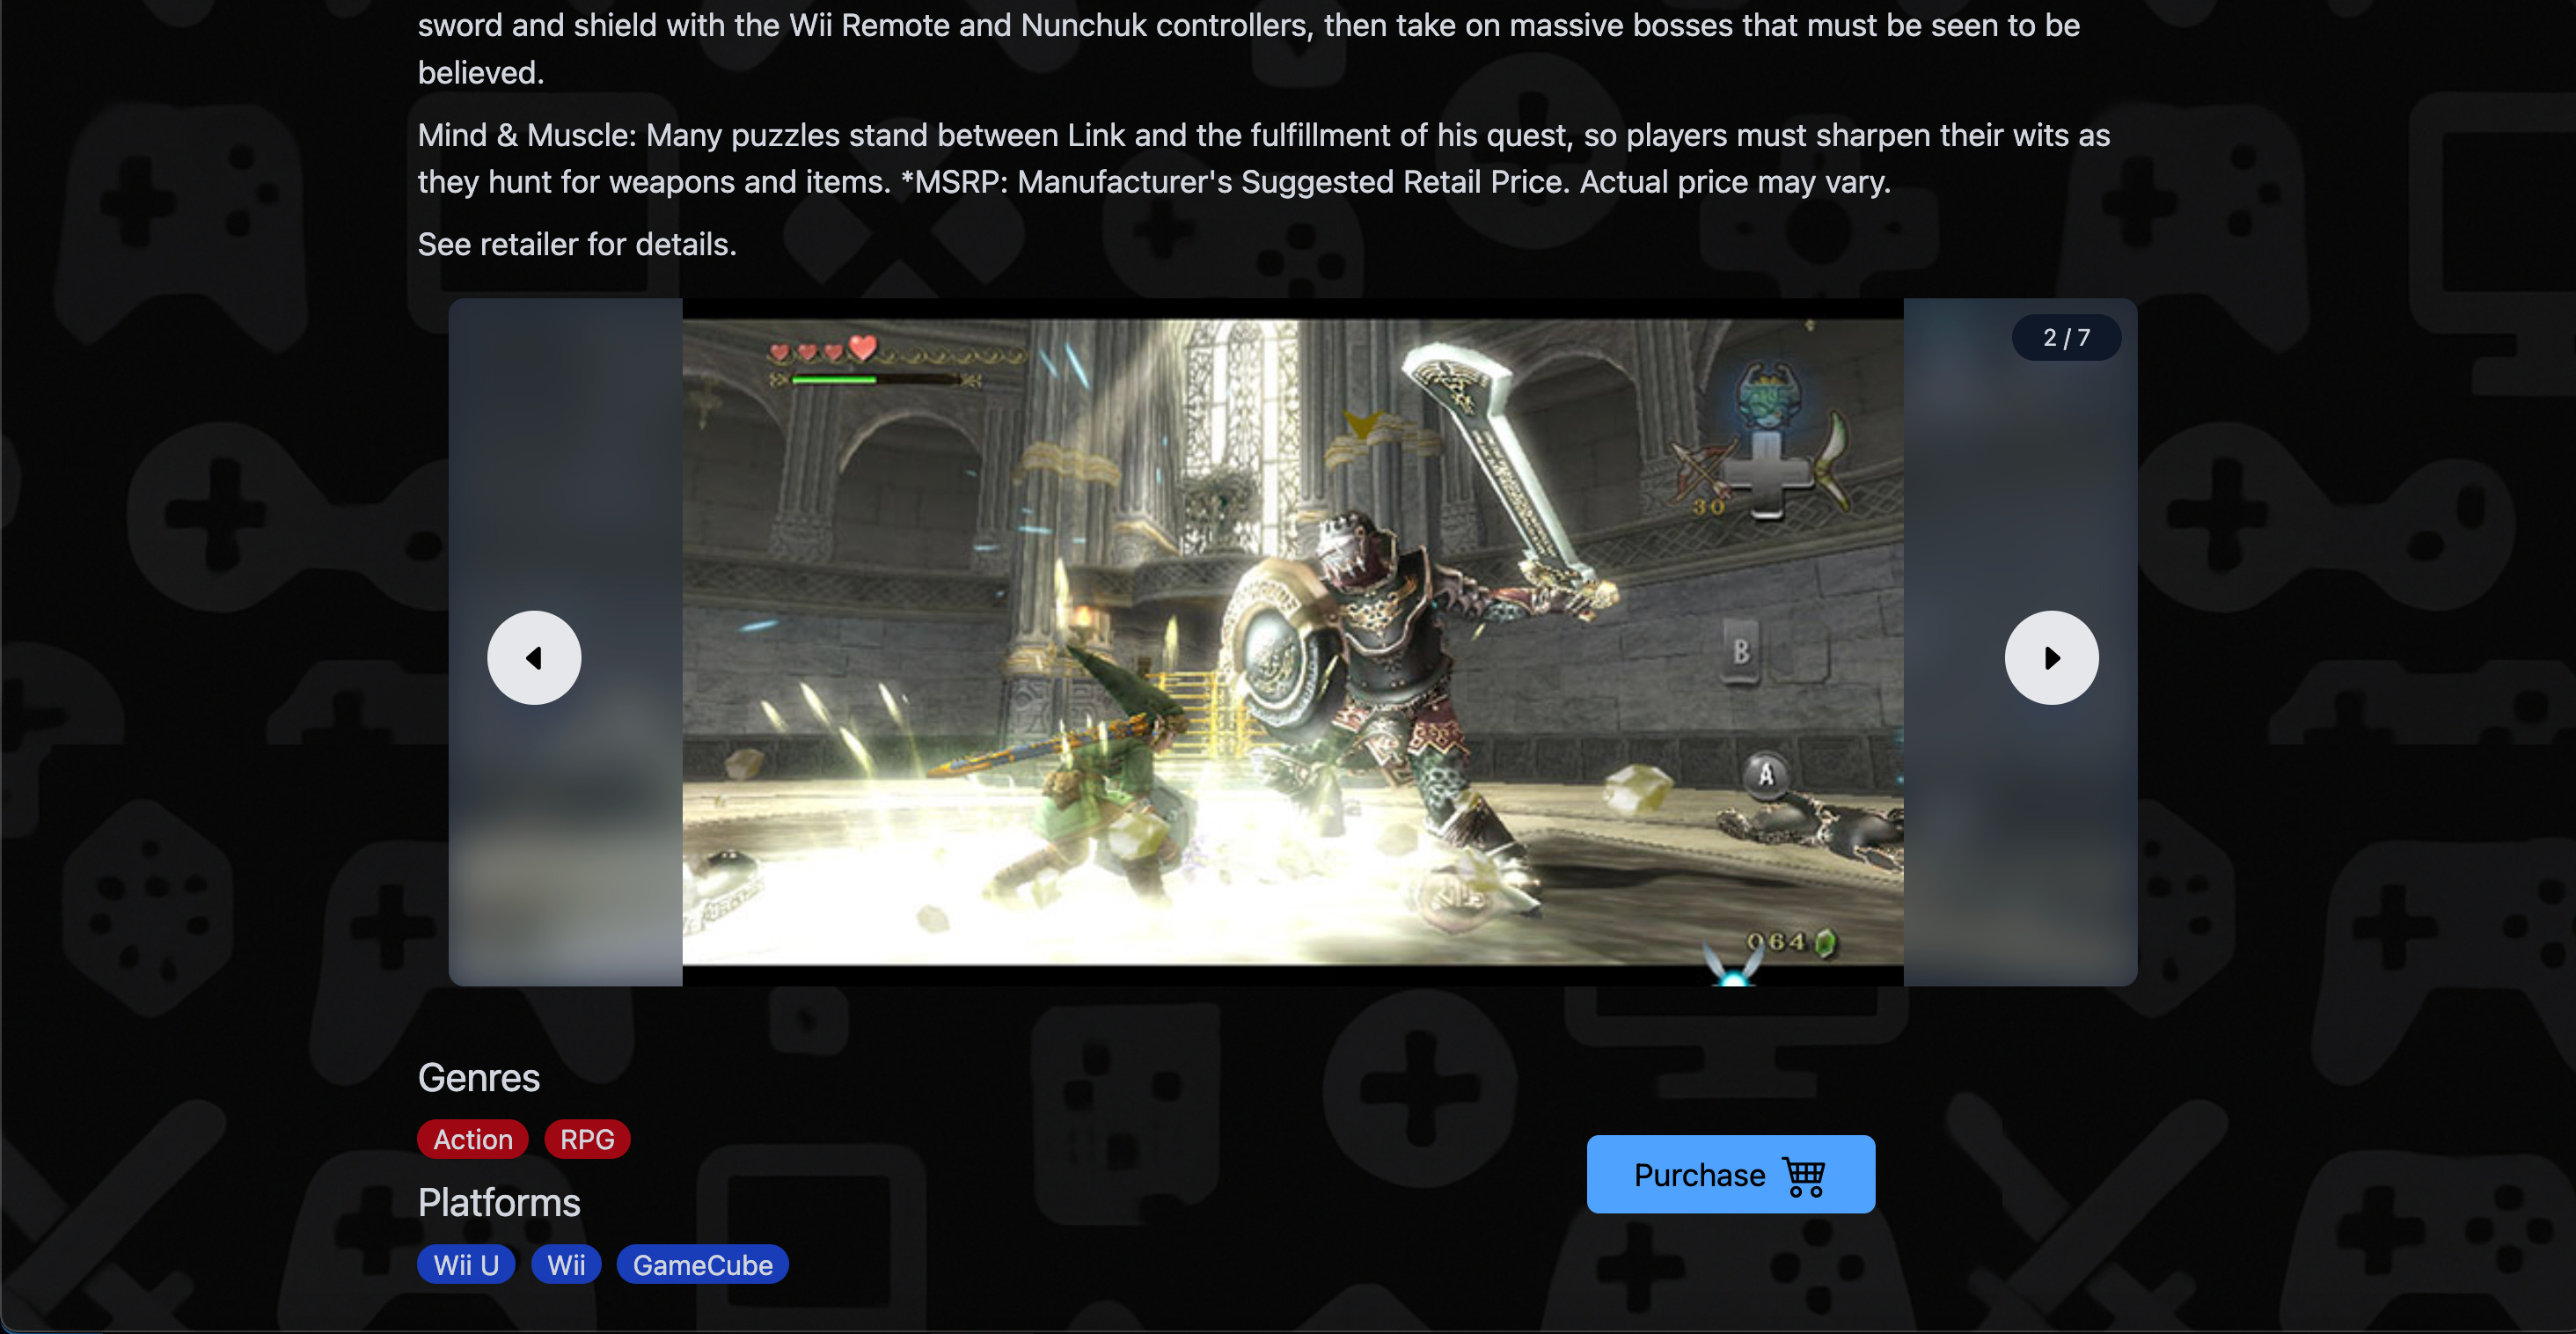
Below is a video showcasing the app in action.

Prerequisites
To follow this tutorial, you need to already know and have built projects with HTML, CSS, JavaScript and have basic knowledge of backend development (i.e You know what a REST API is). I also assume that you know how to use the terminal and a code editor like VSCode. Knowing how to work with Git is expected even if it’s not the focus of this tutorial.
Tech Stack
While this tutorial is about using React, we will use other tools alongside it. You do not need to be familiar with them as I’ll explain how they work during the tutorial.
Tailwind CSS : An easier way to write CSS to make our website look good.
Node.js and Vite : So that our React code can be converted to JavaScript code that can run in the browser.
RAWG API : This is an API for getting game related data. You can get a free API key here.
Express.js : A Node.js web framework, This is so we can make a small backend that will serve as a proxy for getting data from the RAWG API. This is so we don’t leak our API key.
Table of Contents
What is Node.js and Why Do We Need it?
To setup our project, we first need Node.js. For those unfamiliar, Node is a runtime environment that let’s you run JavaScript code outside of the browser. Originally, JavaScript could only run within a web page within a browser but when Node was created, it enabled JavaScript to be used directly on your computer like for example Python.
This enabled, JS to be used for backend development as well.
Because JS was no longer constrainted by the browser, JavaScript with extra features started to emerge as people wanted certain features not yet included in browsers. This led to the creation of JSX which is the ability of writing HTML within JavaScript.
While this syntax is not valid in vanilla JS, developers would use build tools like Vite that would compile (or “transpile”) their Node.js JavaScript into JavaScript that runs in the browser.
To be more efficent, these build tools would also minify your code which consisted in compiling your multi-file JavaScript codebase into a single JavaScript file that looks like gibberish (or obfuscated) that would load faster in the browser since you would only needed to load a single file.
With Node.js also came NPM (The Node Package Manager) allowing programmers to install JavaScript libraries using the command line like you would do in other programming languages. Prior to this, you had to download a .js file for the library and import it using a script tag in your HTML.
All this to say, that we’re going to use Node.js to install React using NPM and use a build tool called Vite to transpile our React code which uses JSX (HTML that can be written within JS) into JS that runs in the browser.
How to Set up React with Vite
First you need to install Node.js. If you don’t have it already, you can get it here. Installing Node.js will also install NPM which is crucial for installing React but also using the build tool Vite.
Now, create an empty folder which is going to contain the project. Using a terminal, navigate to this folder. Run the command :
npm create vite@latest .This will use the latest version of vite to create your project and adding the . in the end will tell it to create the project within the current folder you’re in.
You’ll be prompted to select a framework, choose React and proceed. You’ll then be prompted to choose between JavaScript or TypeScript, select plain JavaScript since we’ll use JavaScript for this project.
Vite is now going to add a bunch of files in your project’s folder. You should have the following structure :
game-database (or name of the folder you decided to use)
|- node_modules
|- public
    - vite.svg
|- src
    - assets
    - App.css
    - App.jsx
    - index.css
    - main.jsx
|- .gitignore
|- eslint.config.js
|- index.html
|- package-lock.json
|- package.json
|- README.md
|- vite.config.js
Once done, you’ll be told to run the following commands :
Done. Now run:

  npm install
  npm run dev
The first command installs the dependencies specified in a file called package.json which was created when vite scaffolded your project.
This file is very important since it keeps tracks of which versions of libraries your project depends on. If someone else where to set up your project on their machine, they would simply need to run npm install and they would get the right dependencies installed in their node_modules folder allowing them to have a working copy of your project.
Now if you run npm run dev you’ll start a local development server from which you can access your React app.
VITE v6.2.2  ready in 184 ms

  ➜  Local:   http://localhost:5173/
  ➜  Network: use --host to expose
  ➜  press h + enter to show help
What is Tailwind and Why Do We Need it?
To make a website look good it’s essential to style it with CSS. However, there is a library called Tailwind which makes this easier than using regular CSS.
The way it works is that Tailwind offers a bunch of premade CSS classes that you use to style your HTML elements. For example :
<div class="w-full p-2 mt-4">
   Hello Tailwind!
</div>
Here we’re styling a div using the following Tailwind CSS classes : w-full, p-2 and mt-4.
w-fullmakes the element take the full available width within its parent.p-2adds a horizontal and vertical padding of 2 units (defined by Tailwind to be responsive so you don’t have to know what the unit actually is).mt-4adds a margin top of 4 units.
As you can see a lot of Tailwind CSS classes are straight up concepts from CSS. Even thought it might seem daunting to have to learn specific class names, most of the time you can figure the names out using your existing knowledge of CSS. When you can’t, the official docs are easy to navigate, so you can quickly find out what you need.
Another advantage of having styles defined this way, is that you can have an idea of what the element will look like by just looking in one place, the HTML. This makes it easy to iterate on your styles so you can achieve the look you want for your UI.
How to Set Up Tailwind
Since Tailwind v4, setting it up has become way easier.
Open up a new terminal or simply close the web server started previously (You can do so with Ctrl+C) and run the following command :
npm install tailwindcss @tailwindcss/viteOnce done, you’ll have tailwind installed but for it to actually work in your project, you’ll need to modify your vite.config.js file so it includes Tailwind.
import { defineConfig } from "vite";
import react from "@vitejs/plugin-react"; // <-- added
import tailwindcss from "@tailwindcss/vite"; //<-- added

// https://vite.dev/config/
export default defineConfig({
  plugins: [react(), tailwindcss()], // <-- added
});
Finally, go to your index.css file located under the src folder. Remove everything in it and add the following :
@import "tailwindcss";Now, Tailwind should be properly installed and is ready to be used.
What is The RAWG API and Why Do We Need it?

RAWG is a video game database and they offer an API you can use for free but you need an API key. You can get one here after having first created an account on their platform. It’s free and you have a limit of 20000 requests per month.
As a heads up, you might be prompted to provide a domain for your product using their API before they give you access. If you don’t have one, simply provide the link to a GitHub repository were you plan on putting the source code for this tutorial or give the link of your GitHub account page. I did the latter and it worked.
In the end, you should have access to the API key under a page that looks like this.

What to do if You Can’t Get an API Key?
In the case where for some reason you can not get access to an API key, you could still follow this tutorial by making made up data in the backend of our app.
Why Do We Need a Backend?
While this tutorial is focused mainly on the frontend by teaching you how to build the app in React, we will still need a backend for this project. However, this backend will just serve as a proxy for calling the RAWG API.
You might be wondering, why don’t we simply call the API directly from the frontend, storing our API key in an environment variable and calling it a day?
The reason is that there is no secure way of storing an API key on the frontend. Even if you use environment variables in for example, Vite. The reason is that when your app is built for production, Vite will just inject the API key in your code. Someone, can still access it by using the devtools tab of their browser.
This might sound strange to some because a lot of tutorials on YouTube and elsewhere teach you to use environment variables client side to store your API key while mentioning that it’s the secure way to do it. However, this is unfortunately a false notion.
By having a small backend that acts as a proxy, we can call our backend from our frontend and let the backend call the RAWG API. Since the API key is store in the backend there will be no risks in having it leaked.
To build this backend we will use the Express Node.js web framework. While the backend is not the focus of this tutorial, I will explain what you need to understand as we do it.
For now let’s set up our backend under a new folder.
How to Set Up Our Backend
This backend will be in a different folder as an independent project outside of our React app. Once you have created the folder (you can name it how ever you’d like. I named mine game-database-backend), cd into it with your terminal and run the command :
npm init -yThis will create a package.json file containing your project’s metadata. It should have the following content.
{
  "name": "game-databse-backend",
  "version": "1.0.0",
  "main": "index.js",
  "scripts": {
    "test": "echo \"Error: no test specified\" && exit 1"
  },
  "keywords": [],
  "author": "",
  "license": "ISC",
  "description": ""
}
Before we can start installing the relevant dependencies, you need to add the following property to our package.json file.
{
  "name": "game-databse-backend",
  "version": "1.0.0",
  "main": "index.js",
  "type": "module", // <-- add this line!
  "scripts": {
    "test": "echo \"Error: no test specified\" && exit 1"
  },
  "keywords": [],
  "author": "",
  "license": "ISC",
  "description": ""
}
Here we’re setting the type of imports to be of the type “module”. The reason we’re doing this is that in Node.js, we used to import libraries using the following syntax :
const libraryA = require("libraryA"); This way of importing is called CommonJS. It was originally created when JavaScript didn’t have syntax to import libraries since at the time, you could only import libraries by adding a script tag to your HTML. When Node.js was created along with NPM, they needed a new syntax to import libraries using a single line. That’s why CommonJS was created.
As JavaScript in the browser evolved, they standardized on the ES Module syntax which looks like the following and works natively in browsers.
import libraryA from "libraryA";To be able to use this syntax in Node (since it’s not yet the standard in Node but is in browsers), you need to set the type to “module”.
You might have noticed in the package.json file, a property named “main”. This is where you specify what file is going to be the entry point of your codebase. By default it’s index.js. As you might notice, we don’t have an index.js file in our codebase yet so we need to create it. Leave it empty for now, we will fill it with code later on.
Installing Dependencies
Now we need to install a few dependencies we need to create our backend. Run the following command to install all of them at once.
npm install express cors dotenv express-rate-limit node-fetchLet’s go over each dependency to understand why they’re needed.
Express : This is a minimalist web framework allowing us to set up routes we can call from our Frontend. Essentially making our own API.
Cors : To be used with Express, it enables us to only allow requests from our frontend’s domain. Preventing other websites from calling our backend.
Dotenv : A dependency that allows Node.js to read environment variables.
Express-Rate-Limit : This enables us to protect our backend from DDoS attacks by limiting the number of requests a single client can make at once.
Node-fetch : Allows us to make requests to the RAWG API from our backend.
Setting our API Key as an Environment Variable
Environment variable are useful because they allow you to provide secrets to your codebase without having to write it plainly in your code. This prevents leakage of secrets as well as allowing you to swap them in and out easily.
Since we’re currently setting up our backend. Create a .env file, with the following content. This is where you need to put your API key. The other fields aren’t important for now. We will come back to this later.
API_KEY=<Replace with your API key>
CLIENT_DOMAIN=<Replace with the client's domain for example : http://localhost:5173>
PORT=3000
Before proceeding, you absolutely need to create a .gitignore file and write .env in it. This is very important so that the Git version control system ignores your env file and doesn’t commit it to your repo. If you forget to do this, you might leak your API key in your source code when you’ll push it on, for example, GitHub.
You also need to write node_modules in it as it can clutter your commit history pretty quickly and anyways, the user pulling your code will have their own node_modules folder created when they run the command npm install.
We’re now ready to move on.
How to Get The Project’s Assets
To make the website look good, I used a couple of images for icons, logos and for the site’s background. You can get all the assets I used for this project here.
In your frontend repo, place the assets linked above in your public folder.
Conclusion
We are now mostly done with our project setup. In the next part of this tutorial, we will actually start writing React code. To not miss out when it releases, I recommend subscribing.
If at any point following this tutorial you get stuck, I recommend running the final project locally and comparing it with yours. You’re more likely to get unstuck this way.
You can find the final source code for both the frontend and the backend, here and here.
Thanks for reading and hoping to see you in the next part!
UPDATE : Part 2 is now available!
Learn React.js by Building a Game Search App | Part 2/3 - Building The Search Bar and Fetching Data From The Backend

Since we have mostly finished our setup in the previous part of this tutorial (You can read part 1 here). We’re ready to start working on the search page of the app which is the main page of the application.