
How to Display an HTML Based UI on Top of a JavaScript Game Made With Kaplay

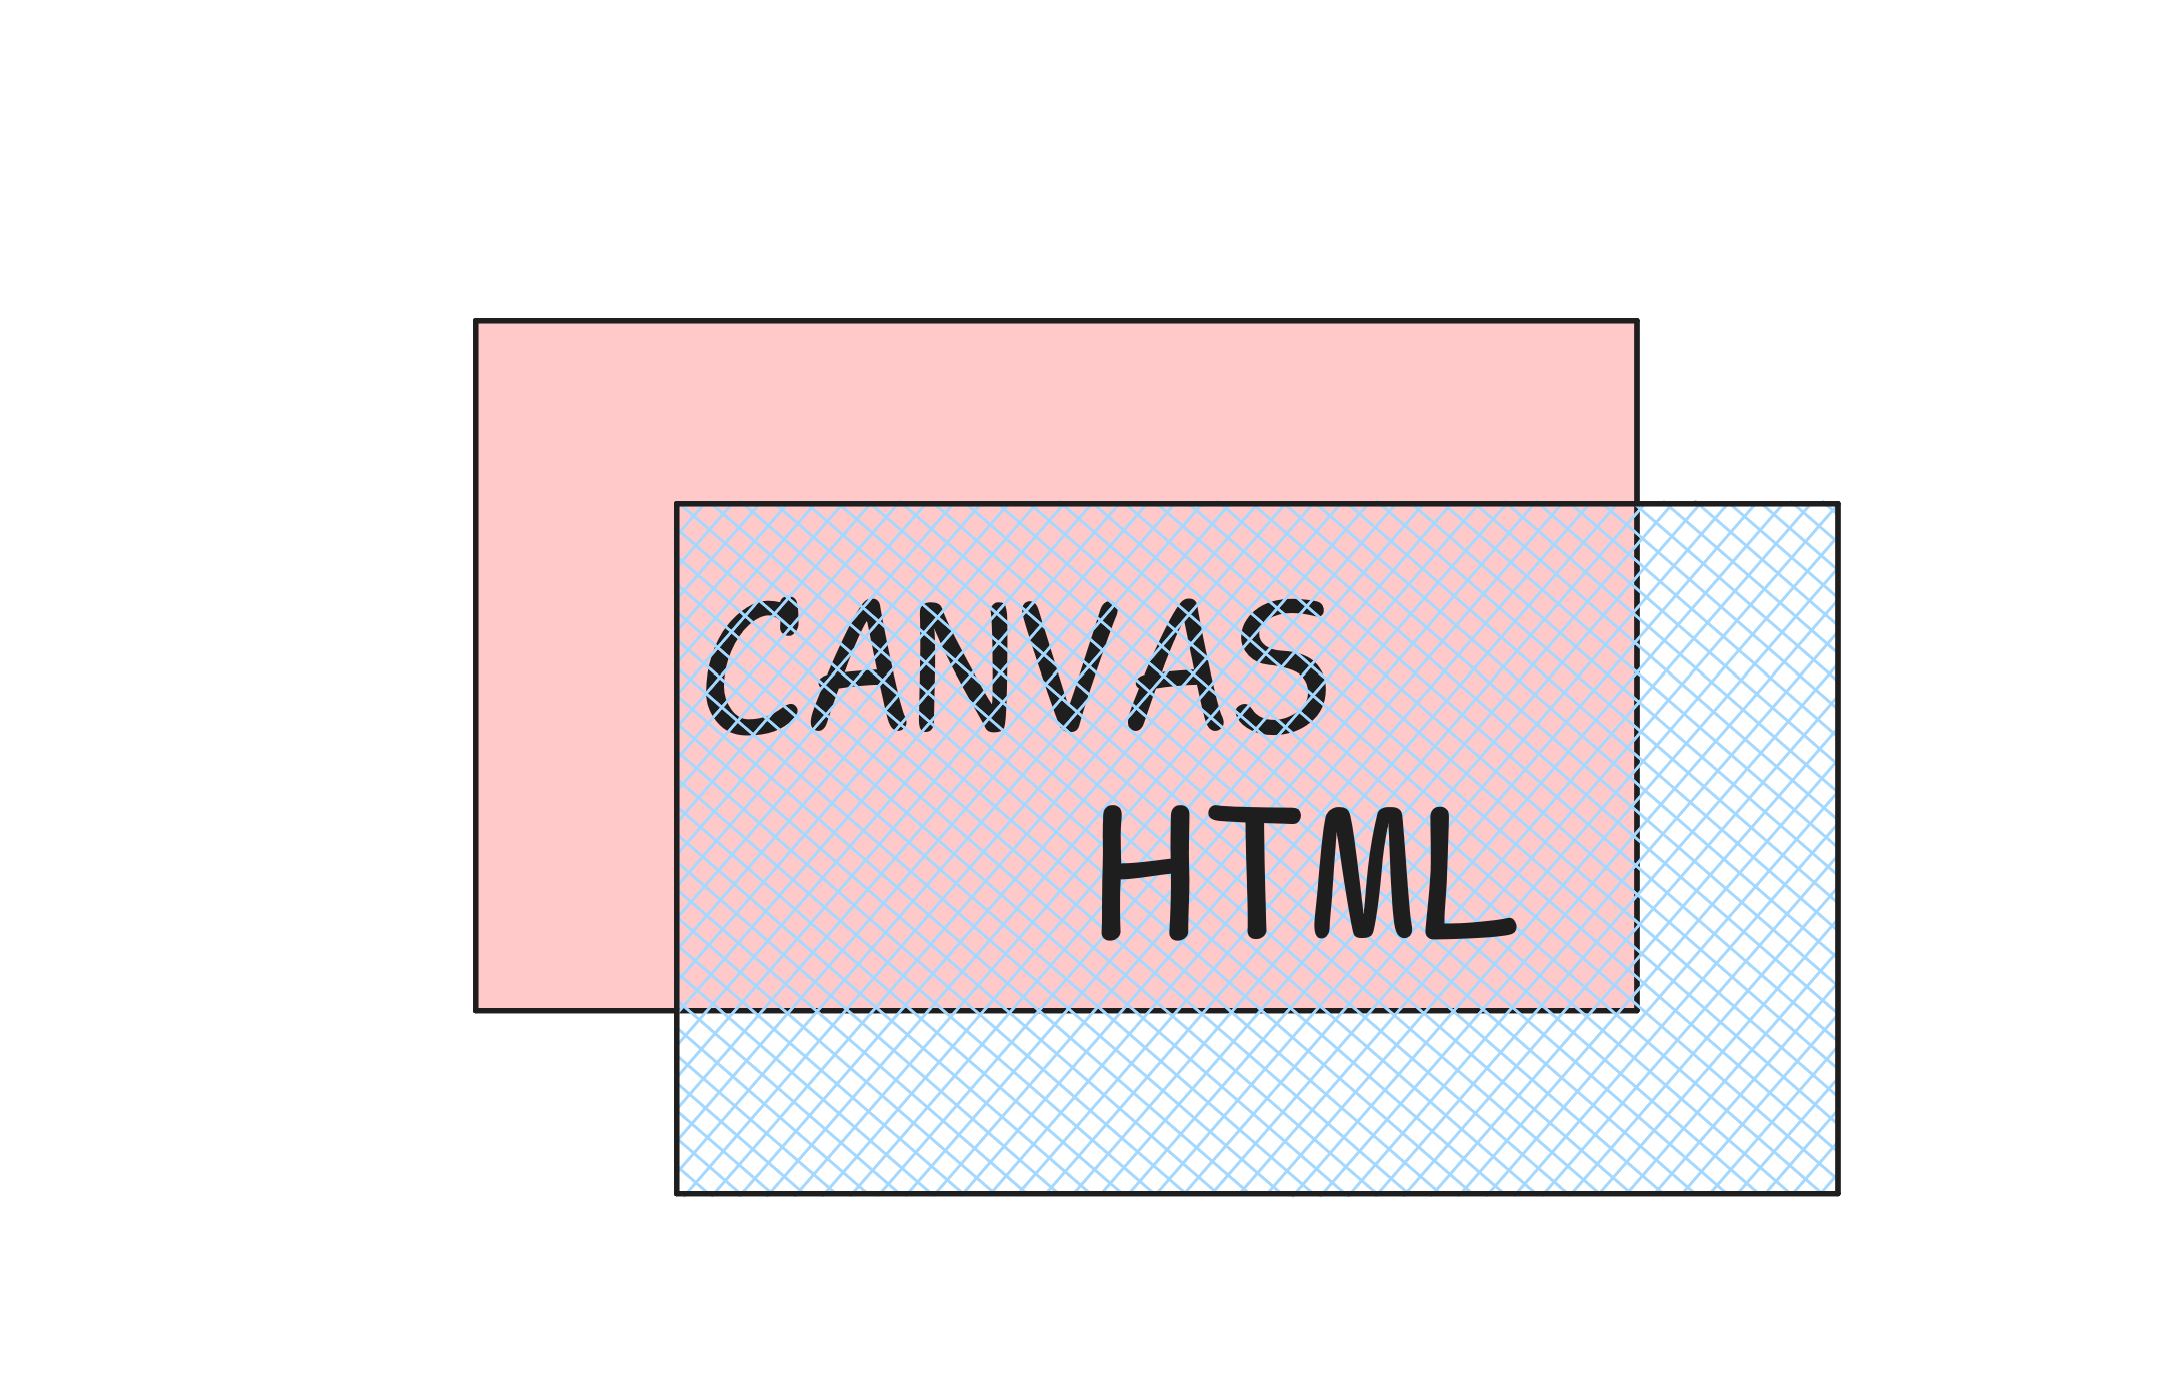
One of the advantages of making games in JavaScript is that you can use a Frontend framework (React.js, etc…) to create reusable UI components for your games. The goal of this post is to explain how to place an HTML based UI on top of your JavaScript game’s canvas.
If you use Kaplay (a library for making in JavaScript quickly), setting up an HTML based UI on top of your canvas can be tricky.
In Kaplay, when initializing the canvas, there is an option called letterbox. This option enables scaling the canvas regardless of the window’s size while maintaining its aspect ratio.
kaplay({width: 1920, height: 1080, letterbox: true})The tricky part is that you need to figure out how to make your HTML based UI scale the same way as the canvas. After mutliple attempts, I couldn’t figure out a solution.
However, someone else did! Thanks to Peter Genčur (Follow him on X/Twitter and check out his GitHub) who provided a clever solution which I’ll present in this post.
The Solution
For the HTML/CSS, we have the following :
<html>
    <body>
        <style>
           :root {
             --width: 1920;
             --height: 1080;
           }

           html,
           body {
             width: 100%;
             height: 100%;
           }

           body {
             position: relative;
             margin: 0;
           }

           .ui {
             position: absolute;
             top: 50%;
             left: 50%;
             width: calc(var(--width) * 1px);
             height: calc(var(--height) * 1px);
             transform: translate(-50%, -50%) scale(var(--scale, 0));
             transform-origin: center;
             box-sizing: border-box;
             z-index: 10;
           }

           /* this is just for testing purposes */
           h1 {
             color: black;
             font-size: 128px;
             position: relative;
             left: 960px;
             top: 100px;
           }
        </style>

        <div class="ui">
           <h1>Hello world</h1>
        </div>
        <script type="module" src="/main.js"></script>
    </body>
</html>
For the JavaScript code (main.js), we have the following :
import kaplay from "kaplay";
const ui = document.querySelector(".ui");
new ResizeObserver(() => {
document.documentElement.style.setProperty(
"--scale",
Math.min(
ui.parentElement.offsetWidth / ui.offsetWidth,
ui.parentElement.offsetHeight / ui.offsetHeight
)
);
}).observe(ui.parentElement);
const k = kaplay({
width: 1920,
height: 1080,
letterbox: true,
});
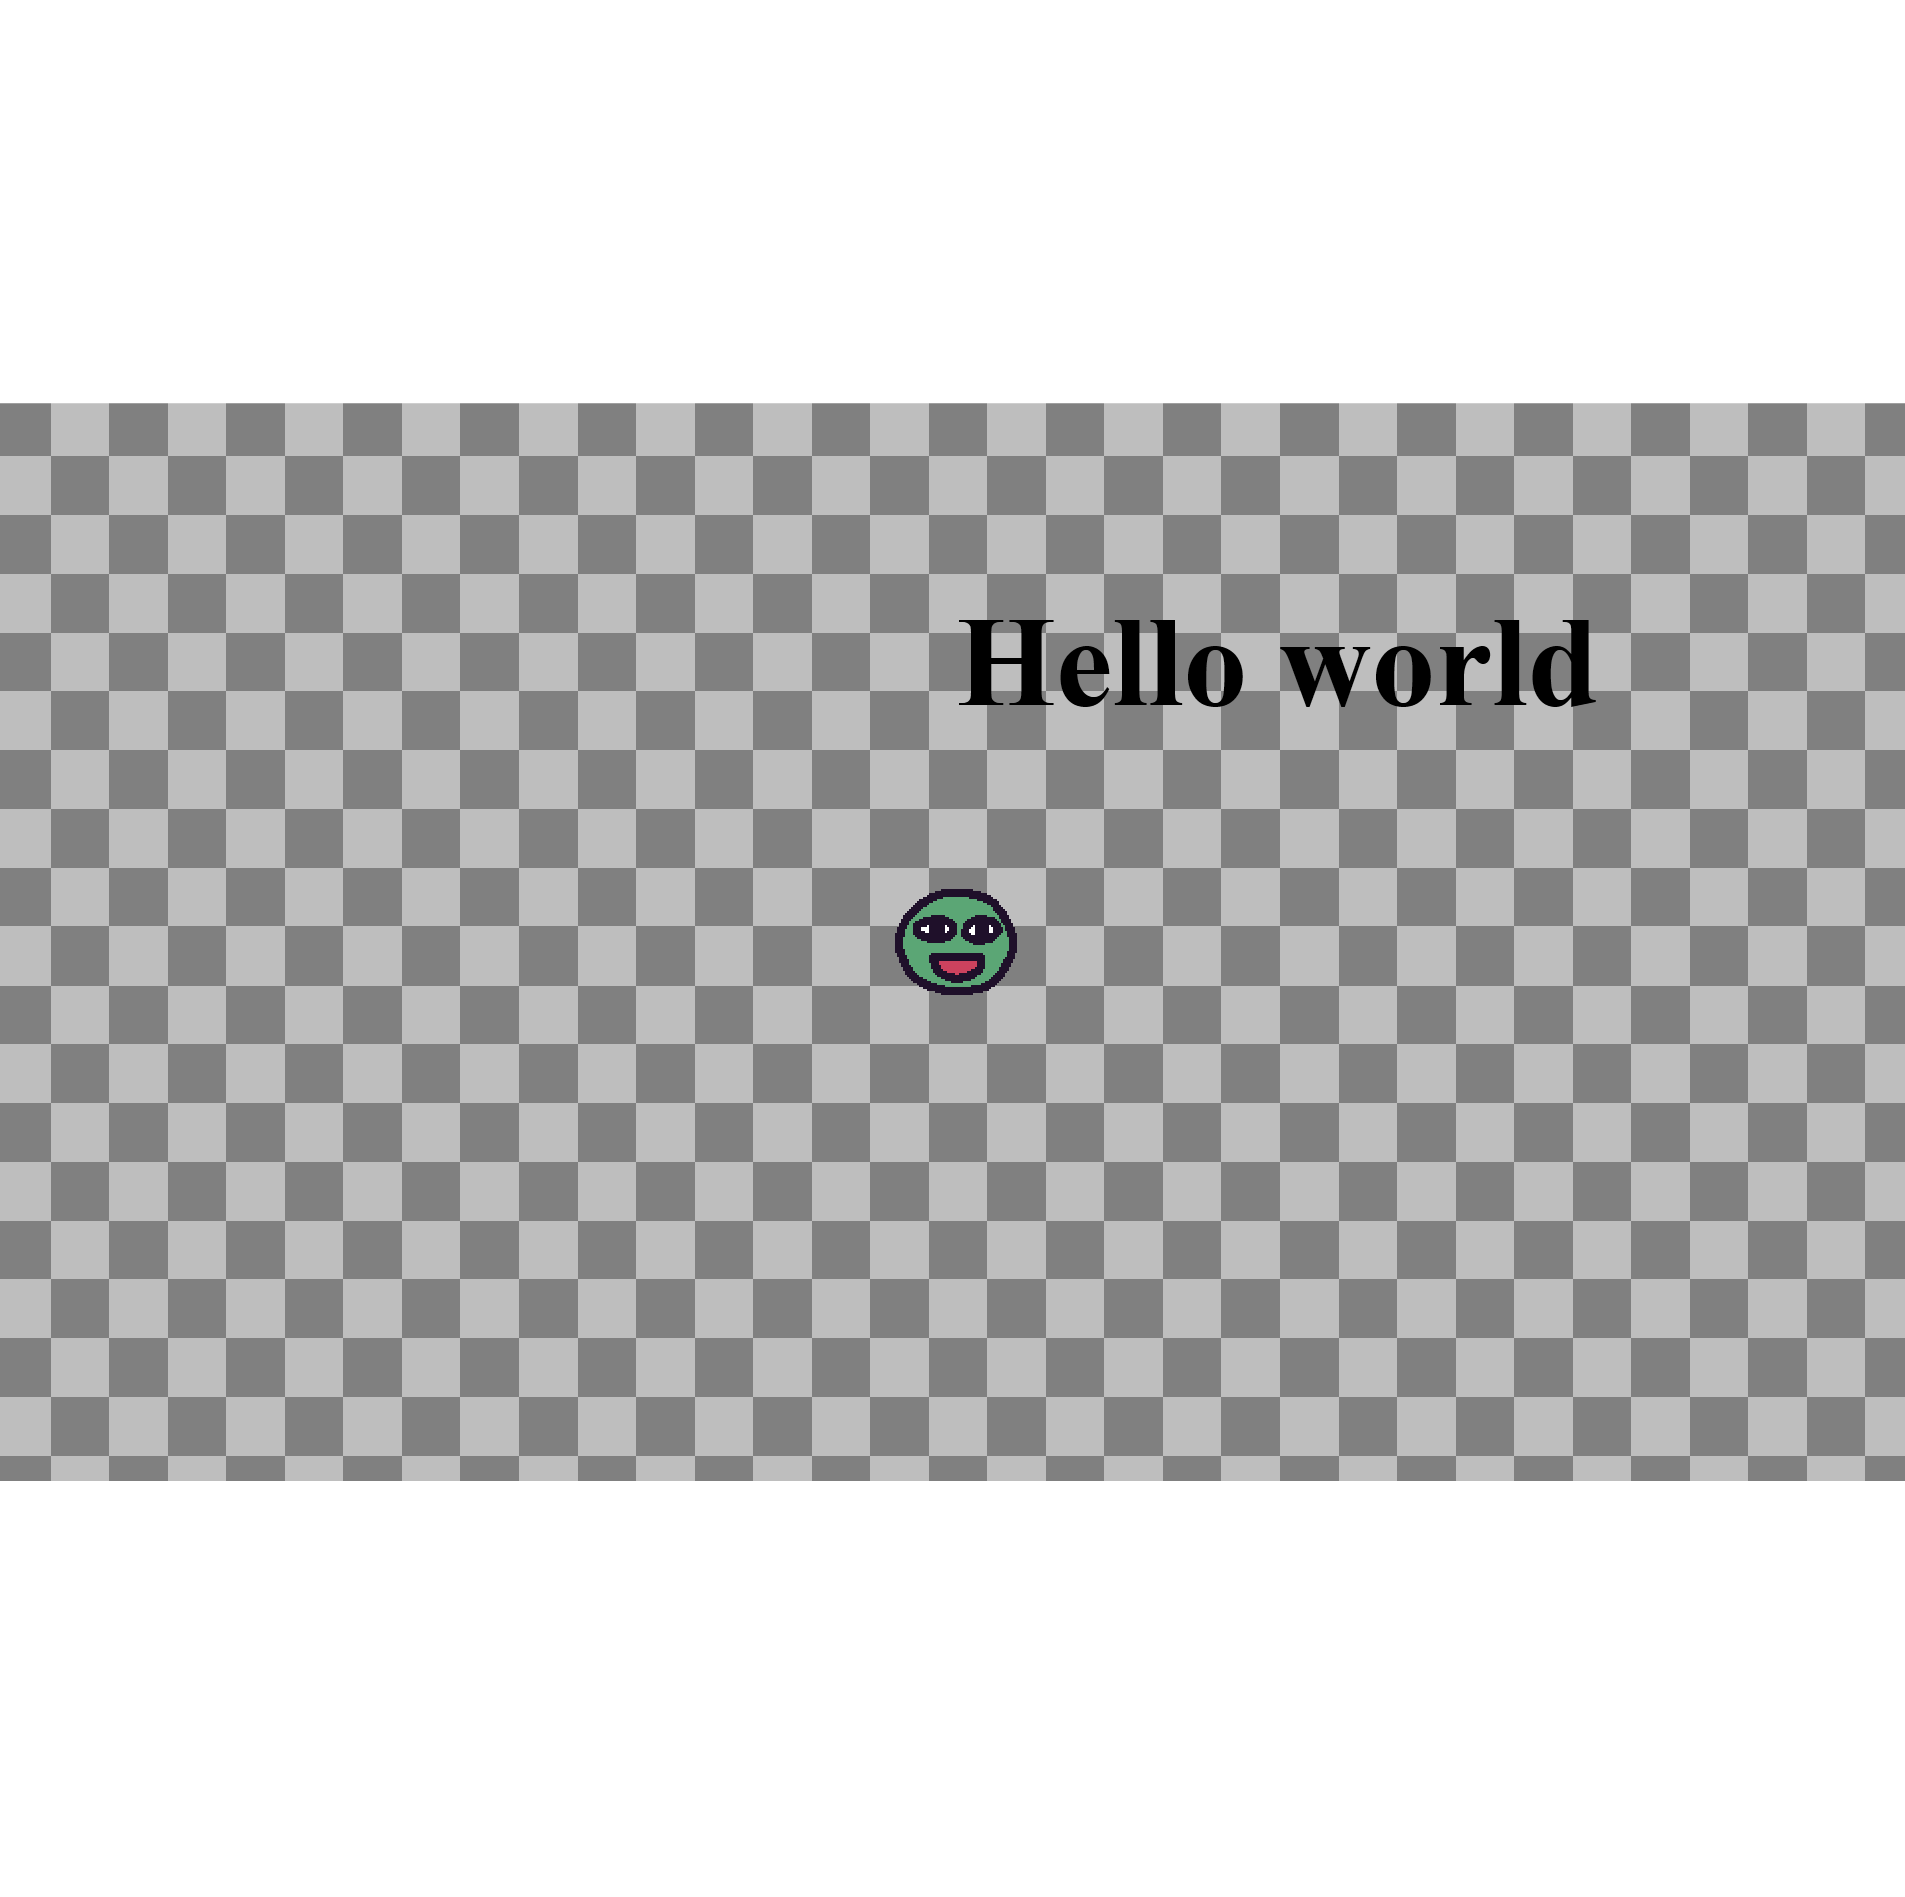
k.loadBean();
k.add([k.sprite("bean"), k.anchor("center"), k.pos(k.center()), k.scale(2)]);Make sure that the CSS variables for the width and height are set to the same values as the one used for initializing the Kaplay canvas.
The most important part here is the CSS of the ui class.
.ui {
  position: absolute;
  top: 50%;
  left: 50%;
  width: calc(var(--width) * 1px);
  height: calc(var(--height) * 1px);
  transform: translate(-50%, -50%) scale(var(--scale, 0));
  transform-origin: center;
  box-sizing: border-box;
  z-index: 10;
}
The ui class will be set to a div which will act as our UI layer. We use absolute positioning and then top: 50%, left: 50% to place the top-left corner of the div at the center of the page. We set the transform-origin to “center” so that the UI layer scales from the center.
Now to understand what happens in the transform, we need to look at the following JavaScript code which sets a CSS variable called “--scale” that determines by how much we should scale the UI layer.
const ui = document.querySelector(".ui");

new ResizeObserver(() => {
  document.documentElement.style.setProperty(
    "--scale",
    Math.min(
      ui.parentElement.offsetWidth / ui.offsetWidth,
      ui.parentElement.offsetHeight / ui.offsetHeight
    )
  );
}).observe(ui.parentElement);
We instantiate a ResizeObserver on the parent of the UI layer (Here it’s the body element) which will fire the function passed in its constructor every time the body is resized. This will happen when the page is resized by the user.
document.documentElement.style.setProperty() creates or sets a CSS variable if it already exists. The math formula sets the scale value by which to scale the UI layer. offsetWidth and offsetHeight are the width and height of an element which includes border and padding.
transform: translate(-50%, -50%) scale(var(--scale, 0));So translate(-50%, -50%) will move the UI back to the top left corner since we initially moved the div with top: 50%, left: 50% to the center. This will make sure that the UI is positioned the same way as the canvas. Since we’re using percentages, we don’t need to know the exact width and height of the scaled div. Finally, we use the scale() function and pass it our “--scale” CSS variable using the var() function. We also pass to var() a second param that acts as a fallback value if “--scale” is not defined which happens at the beginning when the body element has not yet been resized.
To conclude, what’s awesome about this technique is that every element you put within the UI div can be placed using px (which is usually not recommended when making web UIs) and the UI will still scale accordingly. Anyway, try it out!
If you like content like this, subscribe to not miss out on future releases!
In the meantime, here are other posts you could read.
How to Implement Infinite Parallax Scrolling Backgrounds in JavaScript

Infinite parallax scrolling backgrounds are nice to look at because they add depth to a 2D scene. In this tutorial, I’ll teach you how to implement them in JavaScript with the Kaplay library.
How to Implement a Zelda Link's Awakening Style Camera in Kaplay

Zelda Link’s Awakening has a camera that behaves like shown below. Let’s implement it in Kaplay.